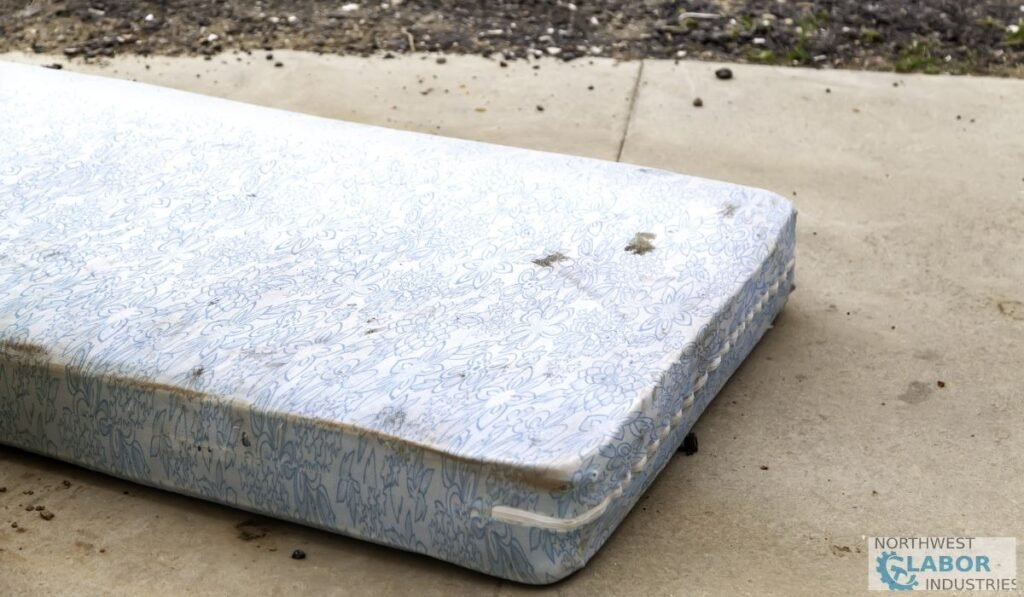
Did you know that every single day, Americans toss out more than 50,000 mattresses? That adds up to nearly 20 million of them hitting the waste stream each year.
If you’re staring at an old mattress right now, wondering what to do with it, you’ve come to the right place. We’re going to walk you through a complete step-by-step guide on how to cut up a mattress for disposal in Seattle, WA.
This mattress disposal guide will show you exactly how to break it down, what tools you need, and where to take the pieces.
But let’s be real. This work isn’t for everyone. From our experience, the mess and muscle required can be a lot to handle. We’ll cover the environmental impact of simply tossing a mattress and why smart disposal matters.
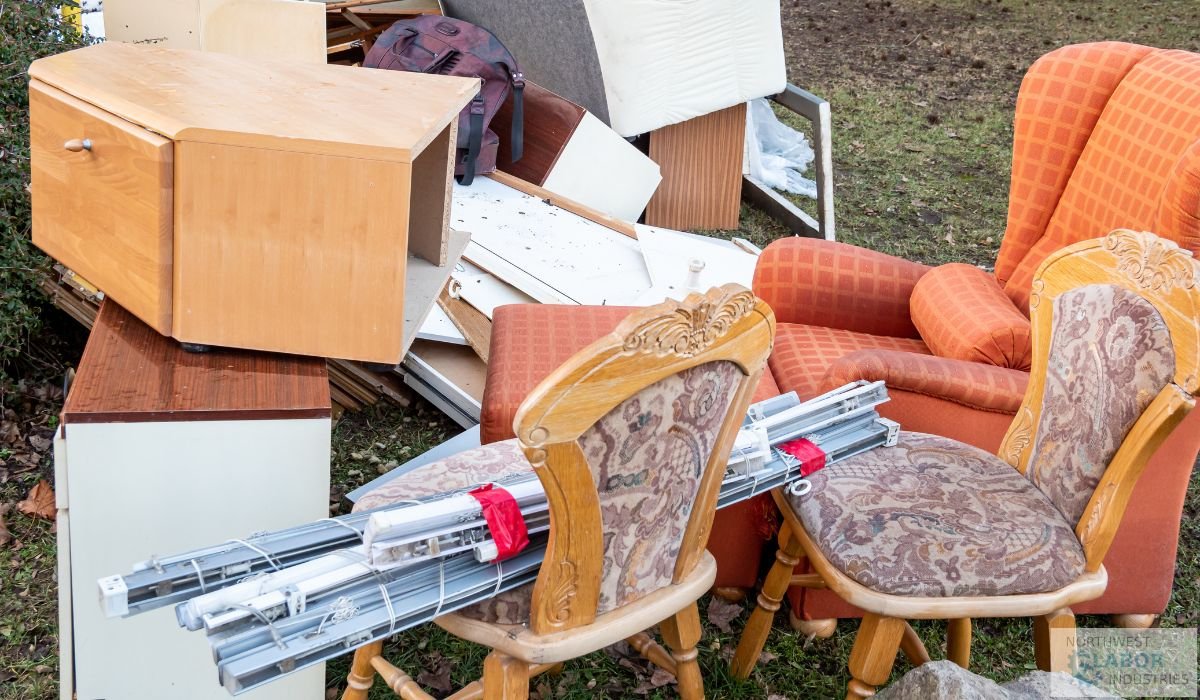
If you’re dealing with other bulky items around the house, we have covered old furniture removal in a previous article. For those tricky chemicals and paints, check out our upcoming guide on household hazardous waste disposal.
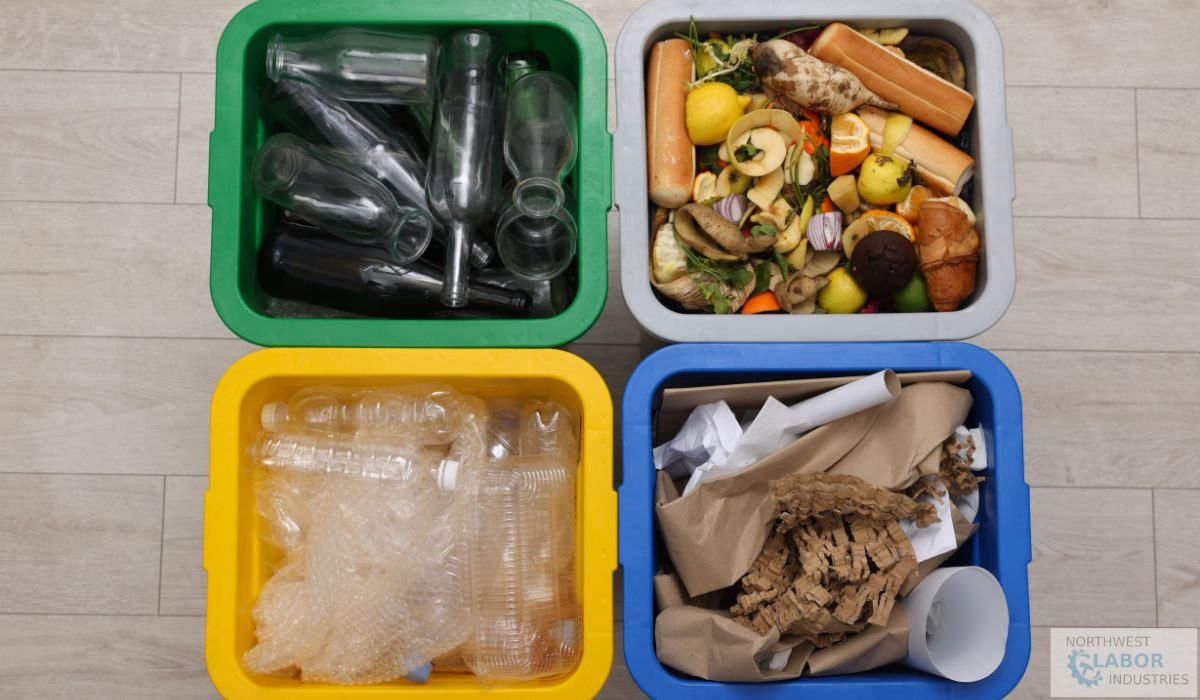
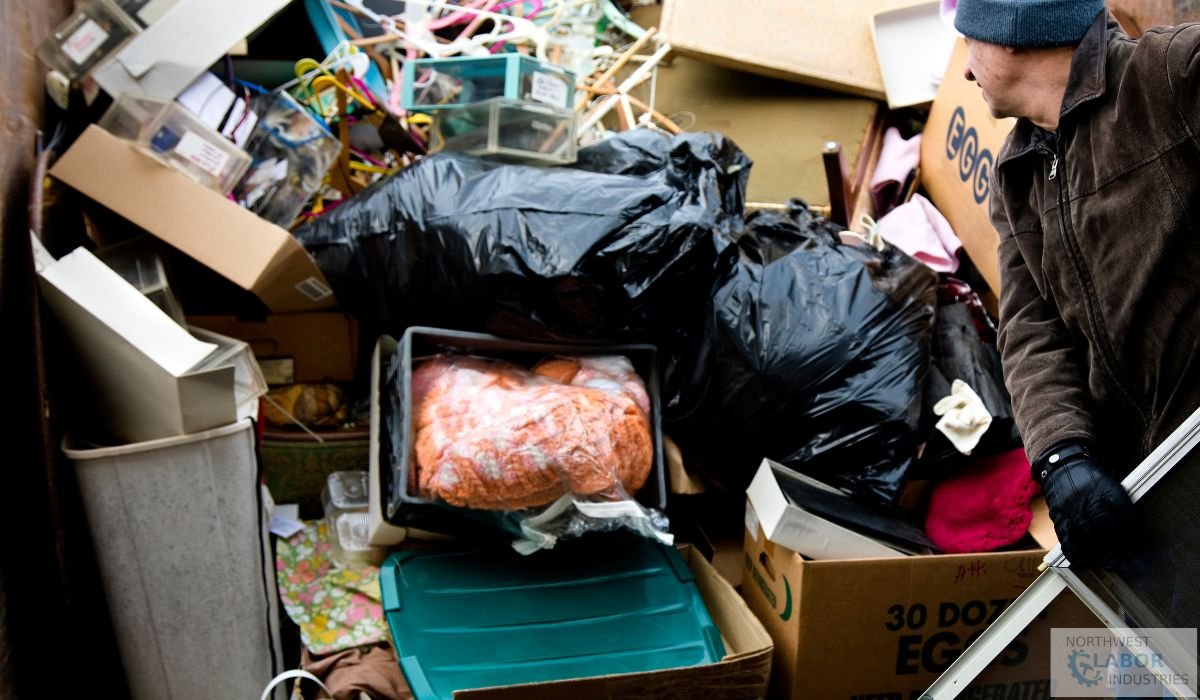
And for everything else, our post on handling household junk is packed with helpful tips. Now, let’s get into the nitty gritty of mattress demolition!
Short Summary
- Check for a fiberglass fire barrier before cutting anything. One wrong cut can release dangerous particles into your home.
- Gather sharp tools like a utility knife, wire cutters, and a hand saw before starting. Dull blades make the job miserable.
- Cut through fabric and foam layers first. Then separate springs from the frame piece by piece.
- Take steel springs to a scrap metal yard in SODO or Interbay. Clean foam goes to special recycling events in Kent or around Seattle.
- Bag up small fabric scraps for the gray trash bin. They can’t be recycled once cut into pieces.
- Weigh your time and energy against hiring help. Sometimes paying for pickup services saves your weekend.
1. Safety Check: The Fiberglass Fire Barrier
Before you grab any tools, we need to talk about something hiding inside most modern mattresses. That cozy looking bed could contain a hidden danger that turns this project into a nightmare. Let’s show you what to look for before you make the first cut.

Why Fiberglass Is a Serious Hazard
Many foam mattresses manufactured after 2007 use a fiberglass fire barrier to meet federal flammability standards. This fiberglass sits just beneath the mattress cover. The safety concerns here are real.
Those tiny glass particles become airborne as dust the second you cut or tear into that outer layer. They get into your lungs, settle on your skin, and spread throughout your home.
We once had a client try this themselves, and they ended up throwing away furniture, clothes, and carpets because microscopic glass fibers contaminated everything. Check the tag on your mattress. If it mentions fiberglass, proceed with extreme caution or do not cut at all.
When to Avoid DIY Mattress Disposal
Sometimes the smart move is calling in help. If your mattress contains fiberglass, find a local mattress recycling center that handles these mattress disposal jobs professionally. They have the right gear and know the safe process for breaking them down.
Professional services exist for a reason. Also, if you have respiratory issues or small children at home, don’t take the risk. The tiny fibers stay airborne for hours after you start cutting. Take our word for it. Some jobs are better left to the pros.
2. Gather Your Essential Tools
Tackling a mattress without the proper gear is a recipe for frustration. You’ll fight with materials that simply will not cut or bend. Here’s what you need to make this job smooth and efficient.
Cutting and Fabric Removal Tools
Gathering the essential tools first saves you multiple trips to the hardware store. The right tools make all the difference between a twenty-minute job and a two-hour wrestling match. A sharp utility knife with extra blades is your best friend here.
A box cutter works too but expect to change blades often. You want a sharp blade that slices through thick padding without constant sawing. A sharp knife with a long blade helps cut through deep foam layers.
Grab a seam ripper for working along stitching without creating sharp edges that snag. Having these tools ready before you start keeps the momentum going.
Tools for Wood and Metal Components
The inside of a mattress contains surprises you cannot see from the outside. Heavy duty wire cutters are mandatory for snipping metal coils and ties. Look for the best wire cutters you can find because cheap ones will bend on tempered steel.
A standard hand saw handles wooden frames found in some hybrid models. You’ll encounter various metal components like border rods and spiral wires.
If your mattress sits on a bed frame, you might need a wrench to separate them first. Trust us, trying to cut through metal with a dull blade is an exercise in pure misery.
Book Junk Removal Today!
3. Slice the Mattress Fabric and Padding
Now the real work begins. We’ve done this more times than we can count, so let’s show you the smart way to break this down without killing your back.
Opening the Edges and Removing Fabric
Start by flipping the mattress on its side so you can access the seams. The outer mattress fabric is tough stuff. Run your utility knife along the stitching to separate the top from the sides. This fabric peels away easier if you find the right seam and follow it around.
Work slowly along the edges and pull the covering away as you go. You’ll expose the different internal layers underneath. Some mattresses have zippers along the sides. If yours does, unzip it first. That single move saves you an hour of cutting later.
Cutting the Foam Layers Into Smaller Pieces
With the fabric removed, those foam layers sit right in front of you.
The foam and padding underneath vary wildly between brands. Slice them into manageable smaller pieces about the size of a trash bag opening. You’ll encounter different materials here. Some layers are soft polyurethane foam while others feel dense and rubbery.
Separating these mattress materials now makes recycling easier later. We cut everything into strips first, then crosscut those strips into blocks. These mattress parts stack neatly for transport once broken down properly.
4. Strip the Memory Foam Layers
Memory foam adds a whole new challenge to this project. This stuff behaves differently than regular padding. Let’s show you how to handle it without wearing yourself out.
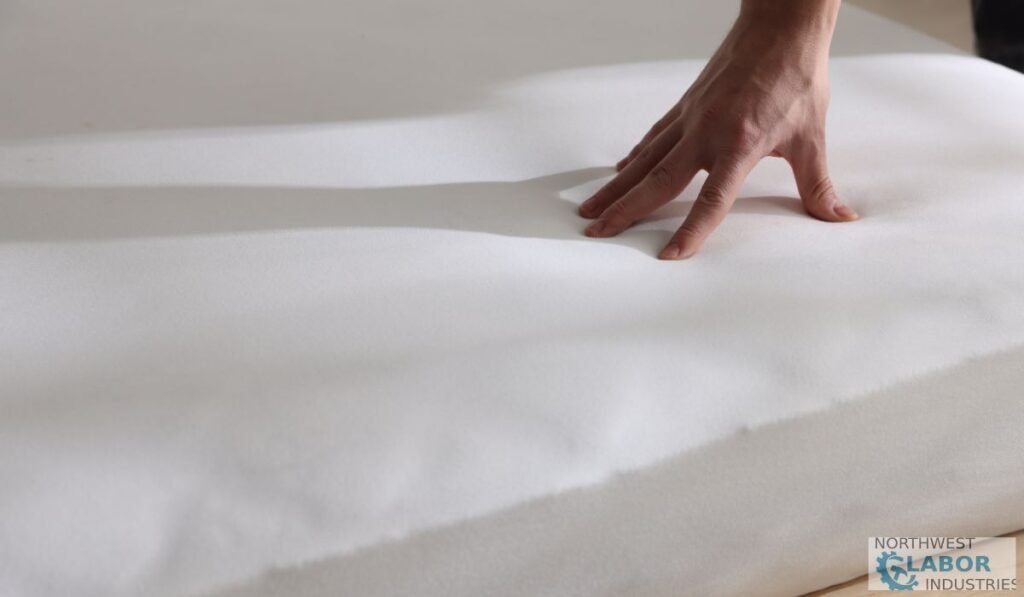
Handling Dense Memory Foam
A memory foam mattress feels completely different under the blade compared to standard options. The memory foam itself is dense and wants to grab your knife rather than slice cleanly.
This type of foam mattress uses materials specifically designed to contour to your body. Those same materials fight back when you try cutting them. We recommend a sharp blade with teeth, like a serrated bread knife from the kitchen.
It works better than anything else we have tried. Cut in short strokes rather than long draws through the foam. Let the blade do the work.
Reuse and Second Life Options
Before you trash all that foam, think about whether it can be reused. Clean memory foam makes excellent pet bed stuffing or workshop kneeling pads.
We’ve seen customers give cut blocks to local artists for reuse in sculpture projects.This second life keeps usable material out of the waste stream. Some recyclable materials processors accept foam if you drop it off clean and dry.
Call ahead to verify before loading up the truck.
5. Break Down the Metal Springs
The springs are where this job turns from messy to genuinely satisfying. That steel has real value at the recycling yard. Here’s how we separate it efficiently.
Cutting and Separating Mattress Springs
Under all that foam lies the metal springs that gave your bed support.
These mattress springs are tied together in spring layers with spiral wires running perpendicular to the coils. The springs themselves are high carbon metal that holds its shape. Cutting the steel ties requires serious wire cutters.
Don’t bother with cheap hardware store pliers. They’ll bend before those wires snap. Work methodically around the perimeter cutting each spiral tie. The whole spring unit then separates into individual coils or smaller sections.
We find cutting the border wire first makes everything else fall apart easier.
Recycling Scrap Metal Properly
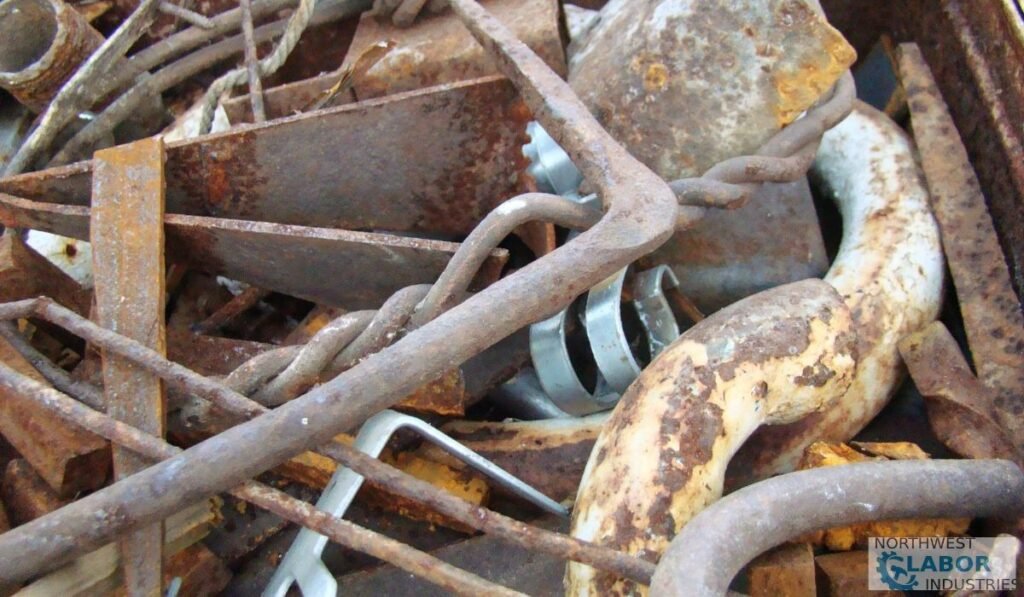
Clean steel scrap metal actually has value at the right place. A local scrap metal yard will pay you by the pound for those springs and wires. That’s right, you might make a few bucks from this project!
Bring your separated metal to a recycling center that accepts ferrous metals. Keeping steel out of landfills matters because it takes centuries to break down. Those metal parts should be as clean as possible. Remove any attached foam or fabric for the best price.
Does it matter if the metal is rusty? Not really. Yards care about weight, not appearance.
6. Dismantle the Box Spring
Box springs look simple from the outside but hide a surprisingly sturdy frame. Here’s how we break them down without busting a knuckle.
Removing Fabric and Exposing the Frame
Flip that box spring over and you’ll see stapled fabric stretched tight across the bottom. Cut along the edges to pull it free. Underneath lies the wood frame and internal support layers. Some newer models use cardboard or particle board instead of solid lumber.
We learned this the hard way after wrestling with what looked like oak but crumbled like cheap furniture.
Cutting the Frame Into Manageable Pieces
A sharp hand saw makes quick work of splitting that frame into smaller pieces. Focus on cutting at the corners where joints connect. The whole breaking down process goes faster if you separate wood from any attached metal hardware first. Those corner brackets and screws belong in your scrap metal pile, not the landfill bin. Stack the wood neatly for disposal or firewood if untreated.
7. Proper Disposal Methods in Seattle
Seattle residents know recycling is practically a sport here. But once you cut your bed into smaller pieces, sorting them correctly is the only way to keep mattress materials out of the landfill.
Where to Take Each Material in 2026:
- Steel Springs: Head to Pacific Iron & Metal in SODO. While a single mattress won’t meet the weight minimum for a cash payout, they will accept the metal for recycling at no cost.
- The Wood Frame: If the wood is untreated, take it to the Shoreline or Bow Lake transfer stations. Label it as “Clean Wood” to access the lower $20.70 fixed-rate fee.
- Foam & Textiles: Most soft foam layers must go in your gray trash bin. However, keep an eye on the 2026 “Beyond the Cart” schedule. SPU hosts these events six times a year (the next is March 21 at South Seattle College) to collect harder-to-recycle household items.
- Mattress Fabric: These scraps are typically considered “residual waste.” Once shredded, they must be thrown in your standard gray bin.
Pro Tip: As of April 2026, SPU residential customers get one free “Special Item” pickup per year.
While a whole mattress is too big for the “free” box, you can use your utility portal to schedule a professional curbside mattress pickup for a flat fee, often cheaper than the gas and time spent driving to multiple scrap yards!
What Goes in the Regular Trash
Not everything from a mattress is recyclable unfortunately. Typically, you must throw soiled or stained foam in the garbage. You cannot dispose of contaminated materials through standard recycling streams.
The same goes for mixed material pieces you cannot separate cleanly. Some fabric backing contains adhesives that ruin the recycling disposal process. Bag these items separately so they do not contaminate your good piles.
Is DIY Mattress Disposal Right for You?
Let’s be honest about whether this project makes sense for your situation. We’ve seen plenty of folks start cutting only to regret it halfway through.
Cost of Tools vs Pickup Services
Those tools we listed earlier add up fast. A decent utility knife, replacement blades, wire cutters, and a hand saw run around $50 to $70. That’s before your Saturday disappears and your back starts complaining.
The essential tools cost about the same as professional pickup services. You trade money for effort essentially. Is saving that cash worth the time and hassle?
That depends on your schedule and patience for messy work. The whole process takes most people three to four hours their first try.
Mess, Dust, and Environmental Considerations
Remember the dust situation we mentioned earlier. Fiberglass particles float everywhere if you aren’t careful. Your carbon footprint actually increases driving multiple loads to different recycling spots versus one truck hauling it all away.
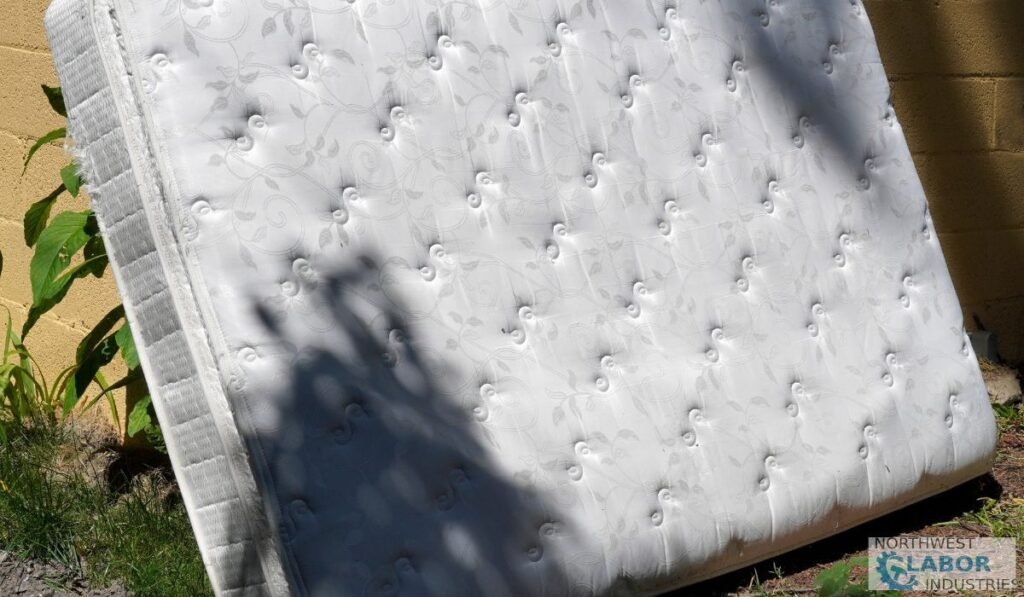
The environmental impact of DIY depends entirely on how well you separate materials. If the mattress is in good condition, don’t cut it up at all. Donate it instead.
But if you must dispose of your mattress, weigh the cleanup cost against your time. That old bed might be more trouble than it is worth.
Final Thoughts
So that is the full breakdown. Cutting up a mattress takes work. You have to watch for fiberglass first. Then gather tools. Cut through layers. Separate springs. Then haul everything to the right places around Seattle. It is a solid Saturday project if you have the time and patience.
But here is the honest truth. Not everyone wants to spend their Saturday doing this. The dust gets everywhere. The cuts take forever. And one wrong move with a fiberglass mattress ruins your whole week.
If you made it through this guide, you now know the proper disposal methods inside and out. You understand the environmental impact of sending a whole mattress to the landfill versus breaking it down right.
That matters. Our mattress disposal guide gave you the full picture on how to cut up a mattress for disposal the right way.
Still, sometimes the smart play is letting someone else handle it. If this all sounds like too much, give the pros a call instead. They know the closest local mattress recycling center and do this process daily.
Ready for more help? Swing by our homepage anytime—we’ve got tips on all kinds of junk.